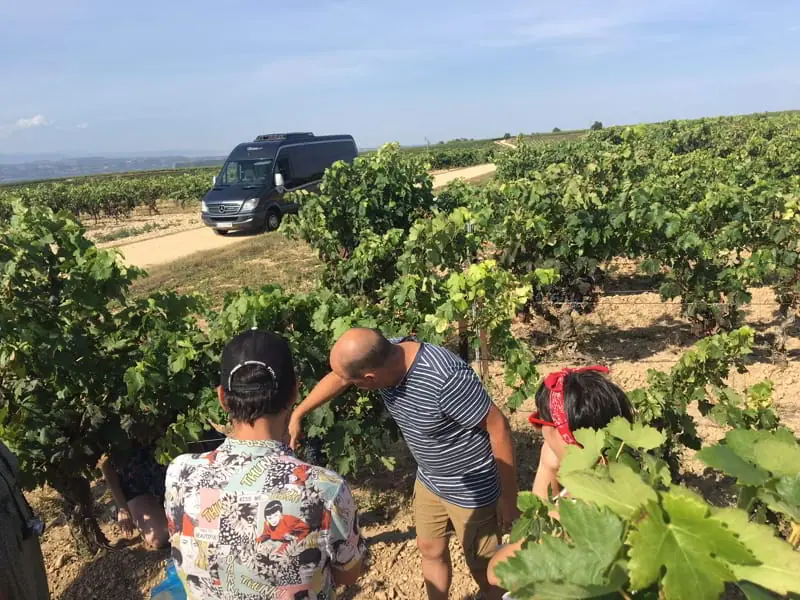
We have accompanied our winemaker, Chema Ryan Murúa, to sample grapes from El Gallo estate in Elciego, and these are the steps we have learned to carry out a correct process:
1. The selection of grapes
We randomly select a few grapes, 20 or 30, from several vines. The important thing is to take them from both sides of the plant. In El Gallo, for example, we have the rows of vines planted in trellis on the north-south axis, so we collect grapes from the east (also called "morning") and west ("afternoon") sides of each chosen vine.
2. Visual analysis
We make a first visual check, to confirm that the grapes are in perfect condition, without rotten parts due to fungi or diseases of the vineyard. Besides, we also check the average size of the grapes by taking one of them and cut it by knife in halves: we see the thickness of the skin, the gelatinous texture of the pulp and, most importantly, the evolutionary stage of the seeds. If they present a greenish colour, it is most likely that the fruit has not yet reached the optimum ripeness level.
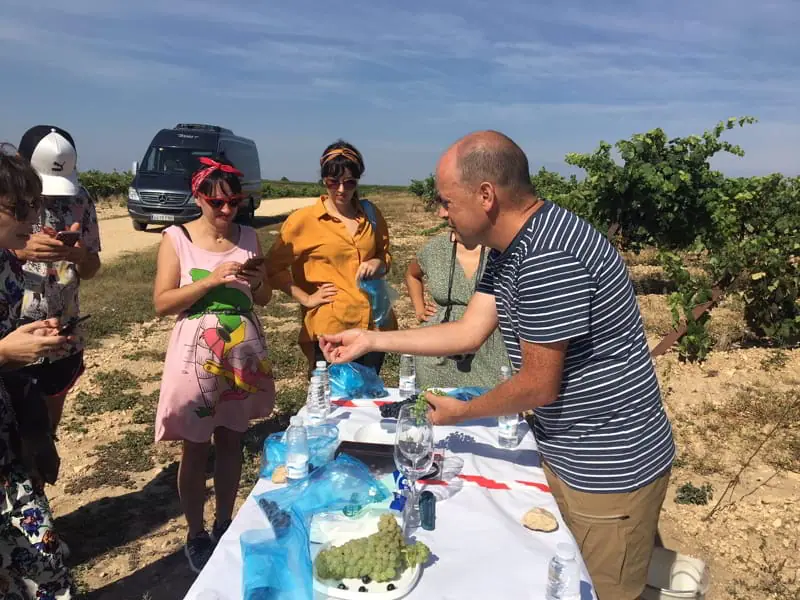 Chema Ryan, Muriel Wines' winemaker, tells how to sample grapes
3. Texture and taste test
We chew a grape conscientiously, as if it were a chewing gum. We notice its texture and its flavor: firstly sweet, on the tip of the tongue; when that sensation fades, we notice the acid taste on the inner sides of the tongue. All this, together with the softness or hardness of the pulp and skin, is a good indication of the grape ripeness.
Finally, we chew the seeds. If they creak under the pressure of the teeth, surely the grape is ripe. If it is harder to split them, and in doing so they release a bitter, vegetable flavor, they are not ready yet.
4. Obtaining must
We introduce a few grapes in a small plastic bag, better if it is of those that have hermetic closure. We crush them by hand to get a good amount of juice or must. If during this process our fingers get sticky, good thing: grapes already contain a high proportion of sugar.
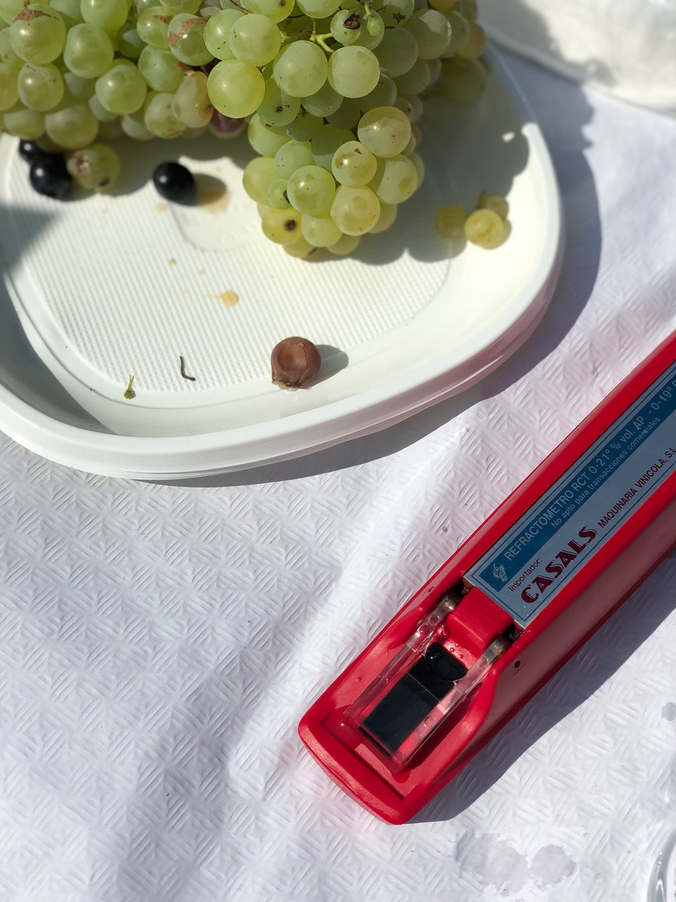
5. Measurement of the potential alcohol degree
In a small test tube we introduce some juice. We observe its color and visual density. Then we take the portable or field refractometer and pour a few drops of must on the measuring surface. When we observe through the peephole of the device, against the light, we see an indicator needle. It gives us a reliable reading of the potential degree of alcohol that the wine must will have after fermenting.
How did we do in the past?
When we did not have a refractometer, verifications were more intuitive and they trusted everything to the vinegrowers experience. If the grapes tasted sweet and could be eaten with pleasure, and if they left their sweet stickiness on their fingers, there was no doubt: it was time to harvest!
"
You may also be interested in: